The article describes the instructions of how to add/install a new language pack to Zen Cart on the example of our Zen Cart template. These instructions are made in accordance with the Zen Cart architecture and can be applied to any Zen Cart installations or templates.
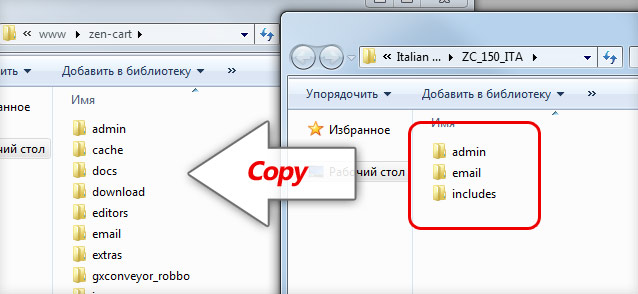
Let it be a new Italian language we want to install to our Zen Cart and we have already installed one of our template, for example, the Robbo Zen Cart Template (template installation instructions are there). The language pack is available for downloading there. Download and unzip the language pack on your local computer. Copy all the files and folders to your Zen Cart installation as follows:

Now we have new folders for Italian language files in our Zen Cart, so when the store language is switched by user, Zen Cart will read the language files from there. If you go to the “your-zen-cart/includes/languages/” folder you will find the “italian” folder with all the same translated files that contain the “english” folder (if you installed English Zen Cart).
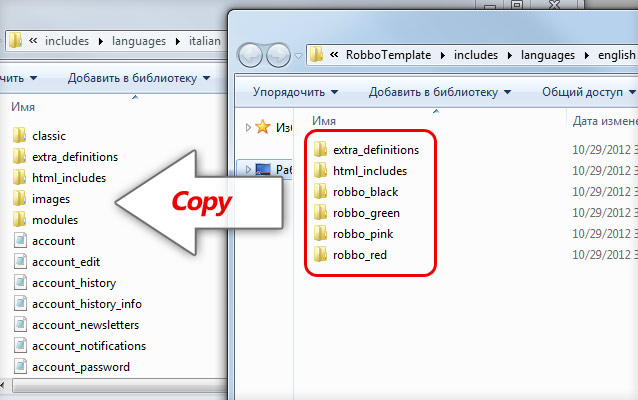
But due to the fact that we installed our Robbo Zen Cart Template, we have additional language files and a couple of folders that come along with the template package for the English language. So, according to the Zen Cart architecture you should copy that language files from the “english” folder of the template to your new “italian” (or other) language folder. It is easy as you have that files in the template package. The image below shows you the process:

So, now you should translate some files you copied to your new language. You can create the banners on Italian or other language and edit the banner code of the “italian” language folder in order to have banners for each of your language.
We hope the information of this article will clarify the installation of a new language to Zen Cart. Give your shopping cart a new professional look with our Zen Cart Templates!


